Control Points Old
Control Points Screen
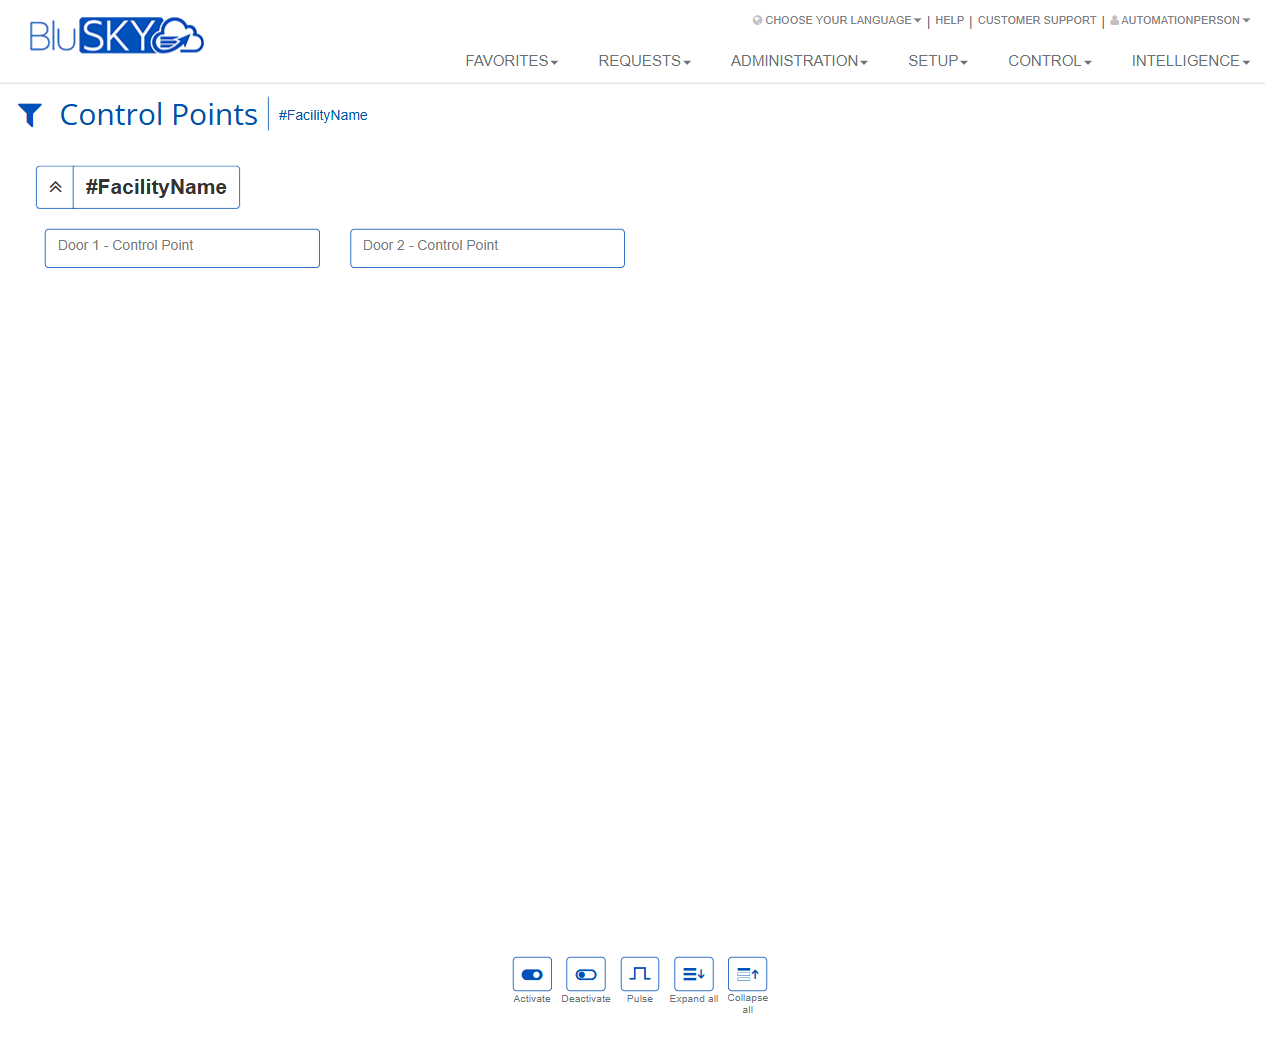
Screen Overview
The Control Points screen provides operators with a consolidated view of all controllable outputs (e.g., door relays, general I/O points) for a selected facility. From this screen you can manually Activate, Deactivate, or Pulse one or more control points and quickly expand or collapse facility groupings for easier navigation.
Field Definitions
| Field Label | Definition | Notes |
|---|---|---|
| Filter (funnel icon) | Opens filters to set or change the scope of displayed control points. | Commonly used to select a Facility; additional filters may be available based on configuration. |
| Facility Breadcrumb (#FacilityName) | Shows the currently selected facility context for the list. | Click or adjust via Filter to change the facility. Drives which control points appear. |
| Group Expand/Collapse (chevron) | Toggles visibility of the control-point tiles within the facility group. | Helpful when a facility has many points. |
| Control Point Tile (e.g., “Door 1 - Control Point”) | Clickable tile representing an individual control output/relay. | Click to select; click again to deselect. Label reflects the configured device name. |
| Activate | Sends an “On/Enable” command to the selected control point(s). | Button appears at the bottom of the screen. May be disabled if no selection or insufficient rights. |
| Deactivate | Sends an “Off/Disable” command to the selected control point(s). | Button appears at the bottom of the screen. |
| Pulse | Sends a timed On-then-Off command to the selected control point(s). | Pulse duration is system-configured; not set on this screen. |
| Expand all | Expands all facility groups to show their control-point tiles. | Bottom toolbar action. |
| Collapse all | Collapses all facility groups to hide their control-point tiles. | Bottom toolbar action. |
Screen Actions and Functions
- Select control point tiles to target for commands.
- Activate – Turn selected control point(s) on/enable them.
- Deactivate – Turn selected control point(s) off/disable them.
- Pulse – Momentarily activate then return to prior state using the configured pulse duration.
- Expand all – Open all facility groupings.
- Collapse all – Close all facility groupings.
- Filter – Set facility and other available filters to refine which control points are shown.
Usage Instructions & Examples
How to Pulse a Door Relay
- Click the Filter icon and select the desired Facility.
- If needed, click Expand all or the facility chevron to reveal tiles.
- Click the control point tile (e.g., “Door 1 - Control Point”) to select it.
- Click Pulse.
- Confirm if prompted. The relay will activate briefly and then return to its prior state.
How to Deactivate a Control Point
- Ensure the correct Facility is selected.
- Expand the facility group if needed.
- Select the target control point tile.
- Click Deactivate.
- Verify status/behavior locally as required by site procedures.
How to Reactivate a Control Point
- Select the appropriate facility and locate the control point.
- Select the tile.
- Click Activate.
- Confirm action if prompted.
How to Navigate Large Lists
- Use Filter to reduce the list to a single Facility.
- Click Expand all to reveal all tiles.
- Use Collapse all to hide tiles after completing actions.
System Behaviors and Edge Cases
- Action buttons are disabled until at least one control point is selected.
- Commands are sent immediately; success may depend on the controller/device being online.
- Pulse duration is determined by backend or device configuration; it cannot be changed here.
- When multiple tiles are selected, the chosen action applies to all selected tiles.
- If the selected facility has no control points, the list area will be empty.
- Expand/Collapse affects visibility only; it does not change selection or device state.
- Some sites may show brief delays before the UI reflects updated state, depending on network/device latency.
- All control actions may be logged for audit, per system settings.
Permissions
- Screen access typically limited to users with operational control rights (e.g., Global Administrators, Property/Security Operators).
- Execute commands (Activate/Deactivate/Pulse) requires specific “Control Points – Control” permissions or equivalent.
- Users without control permissions may view tiles but will see disabled or hidden action buttons.
- Facility scoping and tenant restrictions may limit which control points a user can see or command.
Linked Workflows
- Setup > Hardware: Create and configure Control Points and their names/associations.
- Automation/Rules or Schedules: Automate control point changes based on time or events.
- Intelligence/Activity or Alarms: Review logs and events generated by control actions.
- Doors/Access Control: Door-related control points may be linked to door hardware for manual overrides.
Reference Image Links