Reports
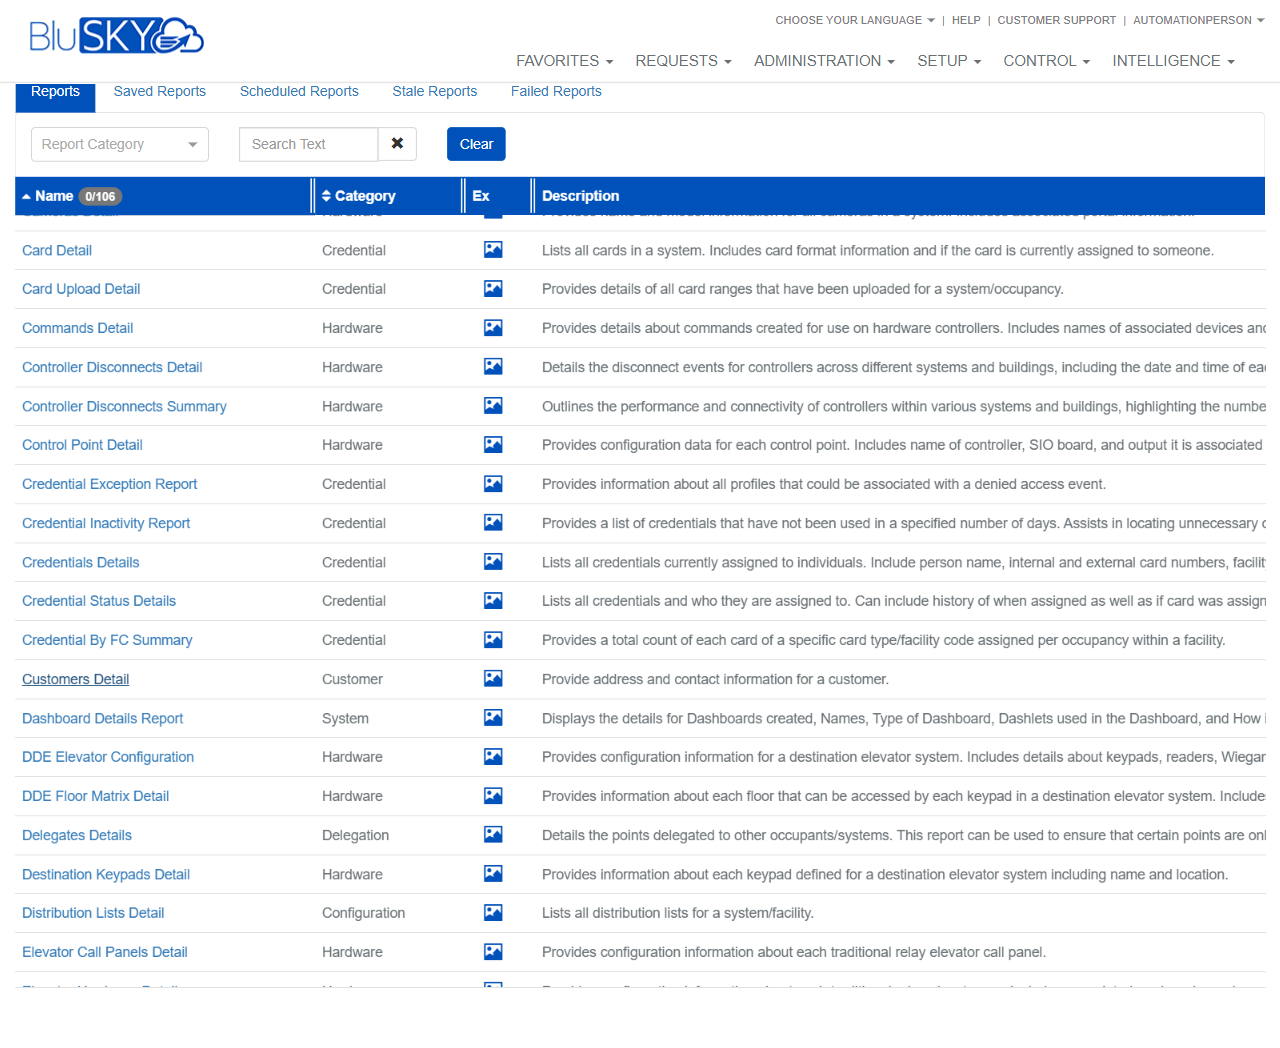
Cameras Detail Report
Screen Overview
The Cameras Detail report provides an exportable inventory of cameras configured in BluSKY. It lists each camera’s name and model and, where applicable, the associated portal/door information. Use this screen to generate an ad‑hoc report filtered by System Group, System, and Facility, and to choose the output format.
Field Definitions
| Field Label | Definition | Notes |
|---|---|---|
| System Group | Limits the report to systems within the selected System Group. | Optional. Defaults to Any. Selecting a group filters the System list. Use the lookup icon to search. |
| System | Limits the report to a single system. | Optional. Defaults to Any. Filtered by the selected System Group. Use the lookup icon to search. |
| Facility | Limits the report to cameras within a specific facility/occupancy. | Optional. Defaults to Any. Filtered by the selected System. Use the lookup icon to search. |
| Timezone | Time zone used to render any date/time columns in the report. | Required (indicated by asterisk). Defaults to the user’s preferred or browser time zone. |
| Format | Output format for the report. | Default is Export To Excel. Other formats may vary by tenant configuration. |
Screen Actions and Functions
- Ad‑Hoc / Saved toggle – Switch between running a one‑time report (Ad‑Hoc) or using previously saved report definitions (Saved).
- Create – Generates the report using the selected parameters. For Export To Excel, a file download is initiated.
- Back To List – Returns to the main Reports catalog.
- Lookup icons – Open pickers to search and select values for System Group, System, or Facility.
- Clear field selection (via picker) – Remove a chosen value to revert to Any.
Usage Instructions & Examples
How to export all cameras for a single facility to Excel
- From Reports, open Cameras Detail. Ensure the Ad‑Hoc tab is active.
- In System Group, choose the relevant group (optional).
- In System, choose the target system.
- In Facility, choose the specific facility.
- Confirm Timezone is correct.
- Set Format = Export To Excel.
- Click Create and download the generated file.
How to export camera inventory for all systems in a group
- Open Cameras Detail and select the Ad‑Hoc tab.
- Set System Group to the desired group.
- Leave System and Facility as Any to include all within the group.
- Verify Timezone and keep Format = Export To Excel.
- Click Create to download the full group inventory.
How to run a saved configuration (if available)
- Open Cameras Detail and select the Saved tab.
- Choose the saved definition you want to use.
- Click Create to generate the report with the stored parameters.
System Behaviors and Edge Cases
- Leaving System Group/System/Facility as Any returns results for all items the user is authorized to view.
- Timezone is mandatory; the screen prevents report creation until a value is present.
- Field dependency: selecting a System Group narrows available Systems; selecting a System narrows available Facilities.
- If no matching cameras are found, the export generates with headers and no data rows.
- Large exports may take longer to download; browser pop‑up or download blockers can prevent the file from appearing.
- Output columns typically include camera name, model, and associated portal information; available columns can vary by integration and tenant configuration.
Permissions
- Access requires permission to the Reports module and visibility to the selected System/Facility.
- Exporting may require an organization‑specific “Export Reports” or equivalent permission.
- Users only see data from systems and facilities for which they have been granted access.
Linked Workflows
- Use the output to reconcile camera inventory under Setup > Hardware > Cameras.
- Cross‑reference associated portals/doors under Setup > Configuration > Portals (or equivalent).
- From the Reports catalog, you can schedule or manage saved versions of the Cameras Detail report to run on a cadence (subject to permissions).
Reference Image Links