Permissions and Roles
Overview
In this portion, we will discuss permissions are handled in BluSKY and how they can be combined together for easy assignments to people based on their duties in BluSKY. How to Create a Role.
Permissions
Permissions are granted through the use of a Role. It is very important to the security of your Facility to limit permissions within BluSKY. By being selective over permissions you are protecting people's information as well as increasing the security of the system. You can learn more about permission by checking out our BluSKY Permissions article.
Creating a Role
- Log in and navigate to Roles. Main Menu-> Administration-> Roles
- On the filter page, click the Submit button to load the list view.
- On the lower left hand, side click the
 icon.
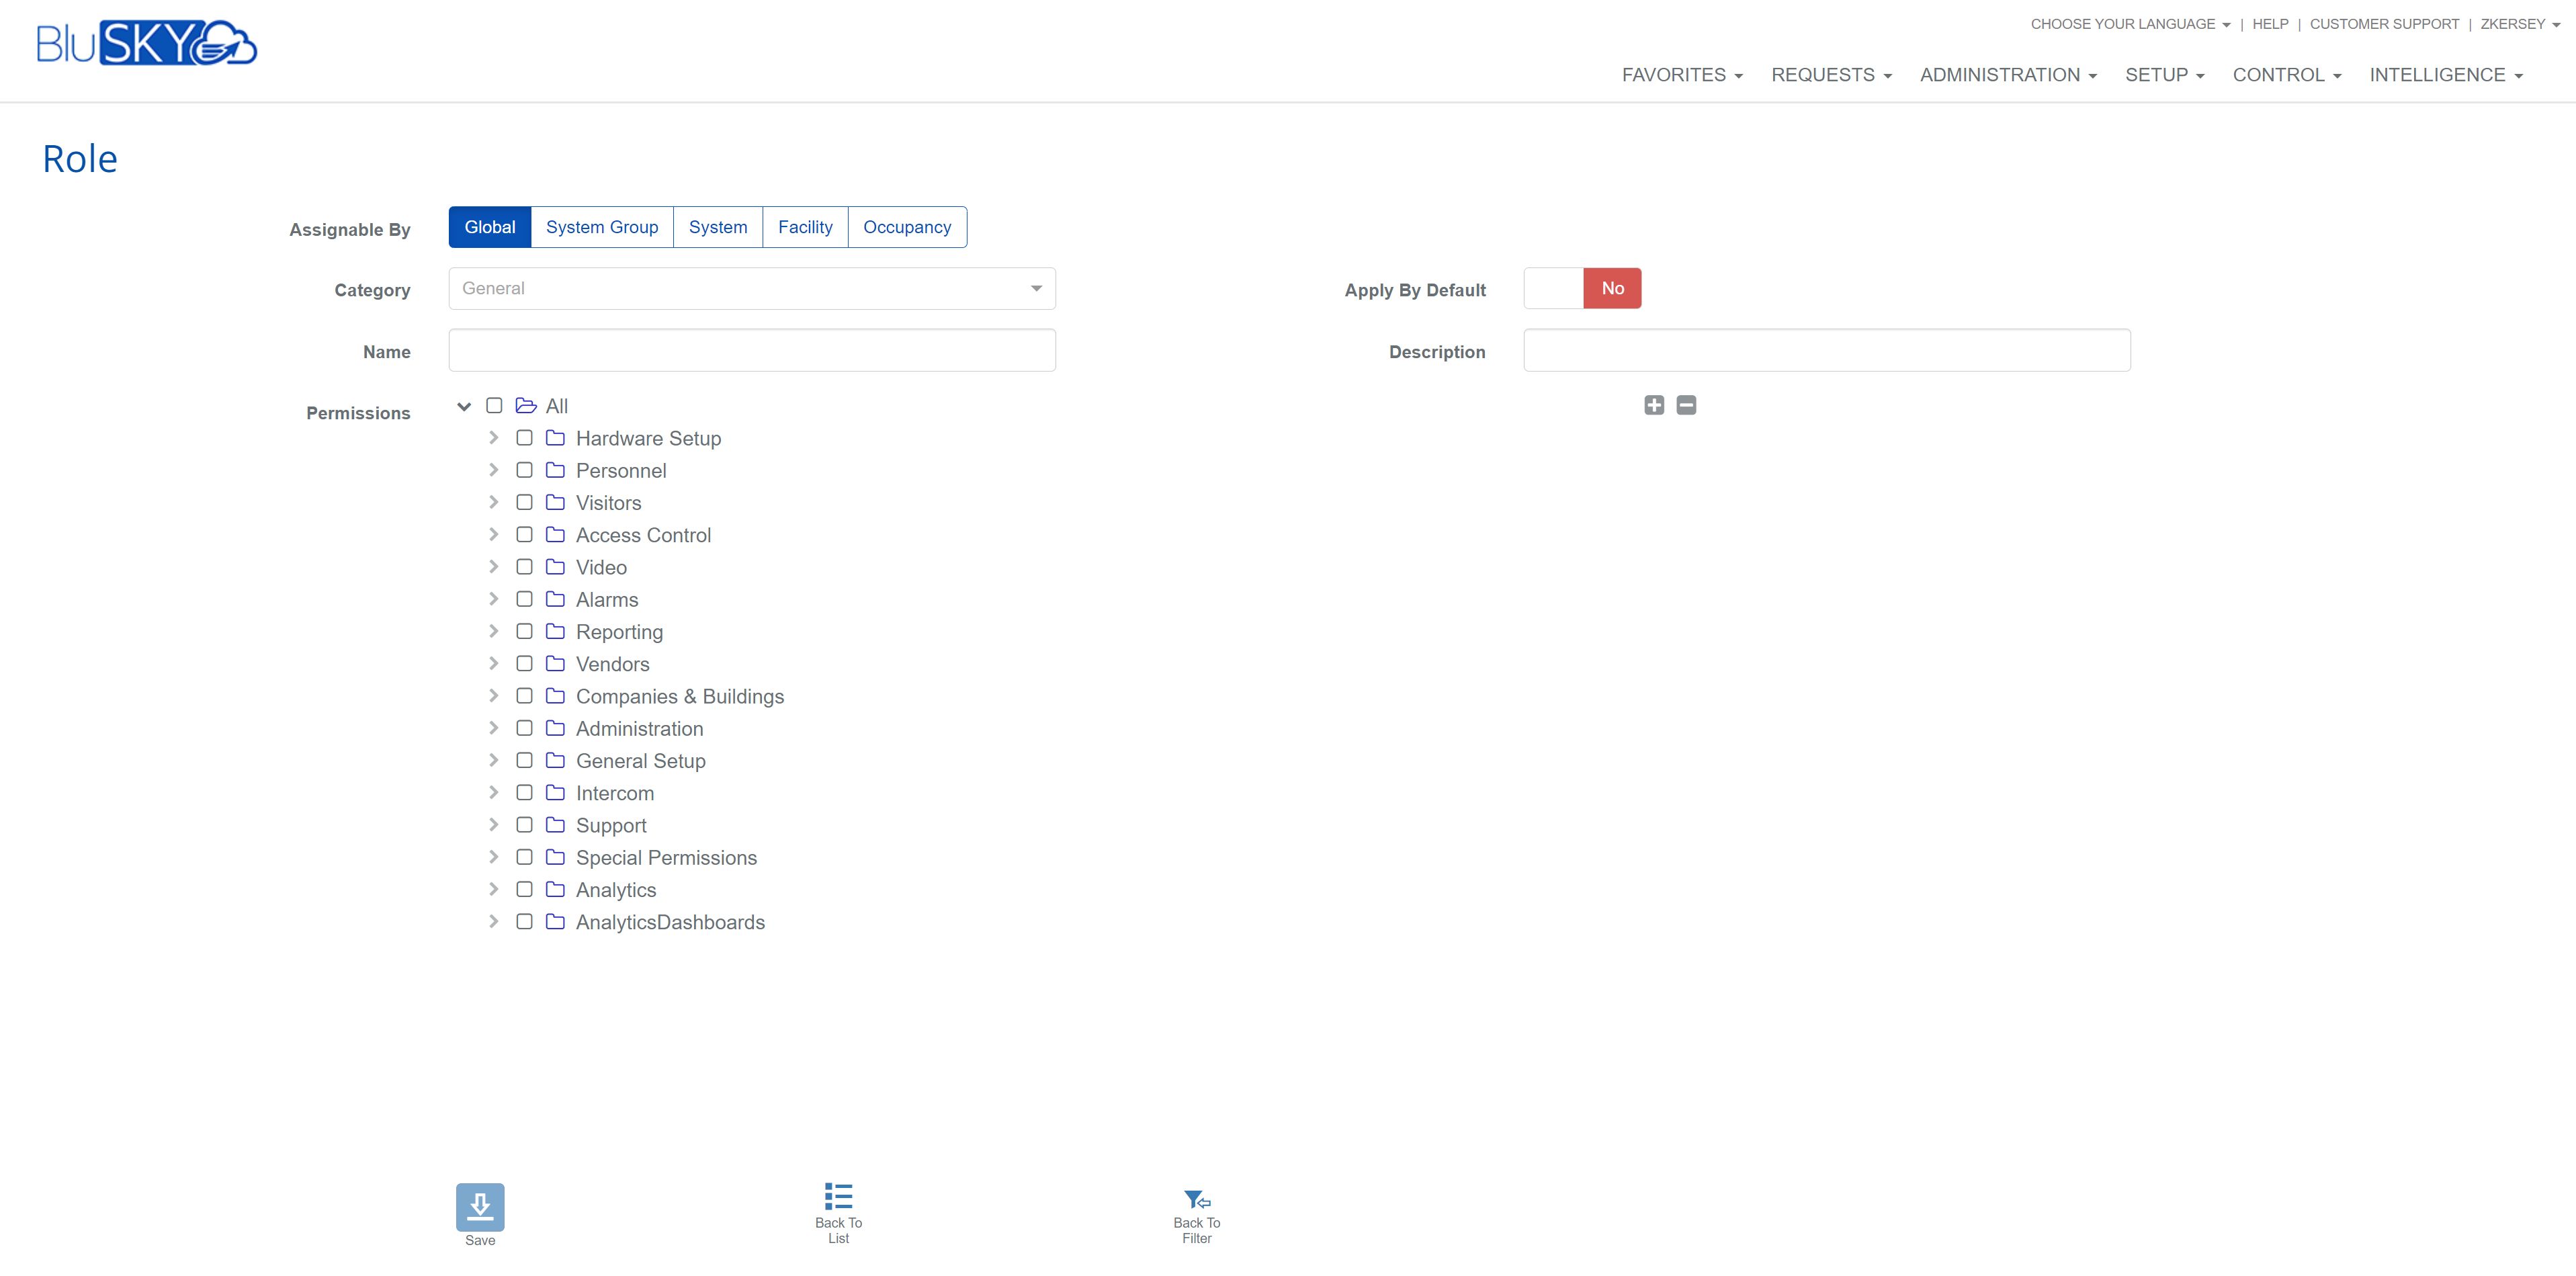
icon. - Select the scope that the Role will be used for with Assignable By.
- Fill in the field that appears based on the chosen Role scope:
- Global: N/A
- System Group: System Group
- System: System
- Facility: Facility
- Occupancy: System and Occupancy
- Select the Category of this Role (General or Life Safety).
- You can also specify if the Role should be Apply by Default to the people created with the same Occupant.
- Enter the name of the Role using the Name field.
- You may also add a Description for easy administration of the Role.
- Set the Permissions for this role. Please read the Permissions article if you do not completely understand the impact of each choice.
- You set the permission by left-clicking on the box to the left of the box(s) you want to select.
- You can drill down into the sub-menus by clicking on the hollow triangle next to the option you want to drill into.
- Key:
 = Partial Permissions,
  = Complete Permissions.
- Create the Role by selecting the
 button.