Elevator Configuration - Floor Stops
Overview
Despite Floor Stops being built-in automatically once you configure the Elevator SIO, you need to confirm that everything went smoothly. For this, we will need to navigate to Floor Stops and confirm the Floor Stop sequence; you can also rename any Floor Stop.
Instructions
- Navigate to Floor Stops. Main Menu-> Setup-> System Setup-> Floor Stops
- Use the
 button in the lower left side to open a new dialog to validate the sequence of Floor Stops.
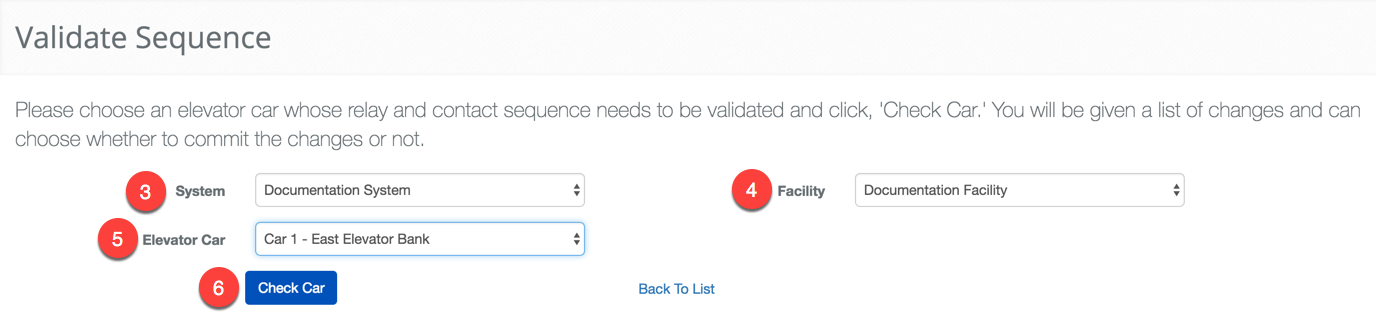
- Select the System from the System drop down menu.
- Select the Facility from the Facility drop down menu.
- Select the Elevator Car from the Elevator Car from the drop down menu.
- Click the
 button to display the validation table.
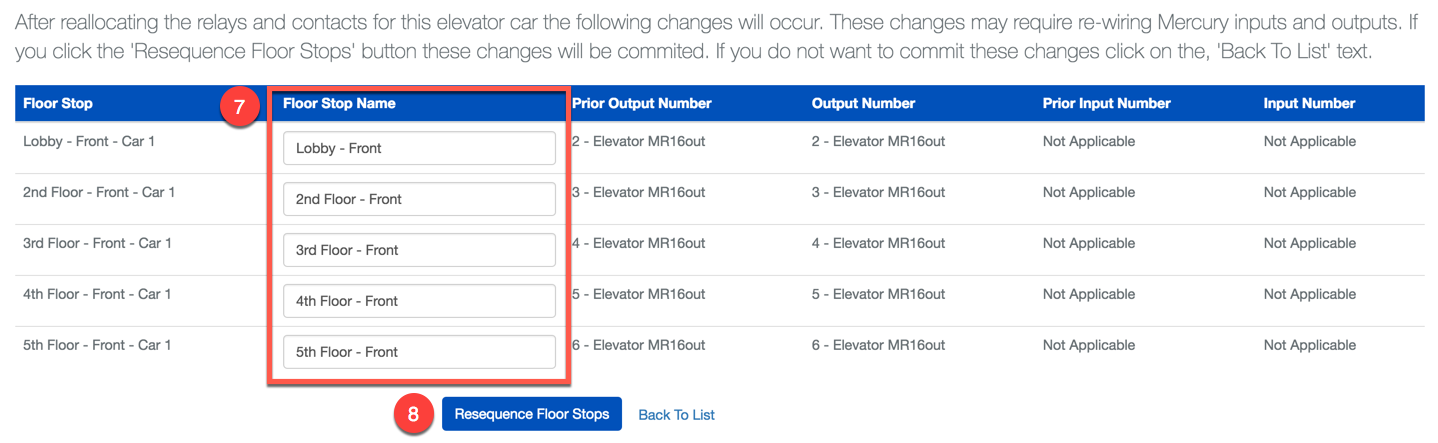
- Rename the Floor Stops as necessary to reflect the wiring in the Elevator Car. The system assumes contiguous Outputs and Inputs are used but we do provide the option to make adjustments as needed.
- When you have confirmed that each one of the Floor Stops is mapped to the correct Output or Input, click the
 button to save all changes.
Summary
Congratulations, we did it! You now have a fully functional elevator system. To recap, we configured the Facility so that BluSKY could help with the configuration process. Next, we configured all of the different components that go inside of the elevator car and the defined the elevators behavior through the Elevator Hardware configuration. Last two steps were to configure the Elevator SIO and validate the Floor Stops. Now all that is left, is to assign the Floor Stops to Access Levels and assign them to People and Visitors as part of their access rights.