Requesting a Visitor - Quick Start
Pre-register your expected visitors when possible by creating a Visitor Invitation for each of them: this reduces processing time in the lobby from several minutes, to just 20 or 30 seconds. Doing this is a welcoming gesture that the visitor will surely appreciate - and it takes only a few clicks from you in BluSKY. Pre-registration is also supportive to all of the Facility's visitors because processing moves much faster if most of the arriving visitors are pre-announced.
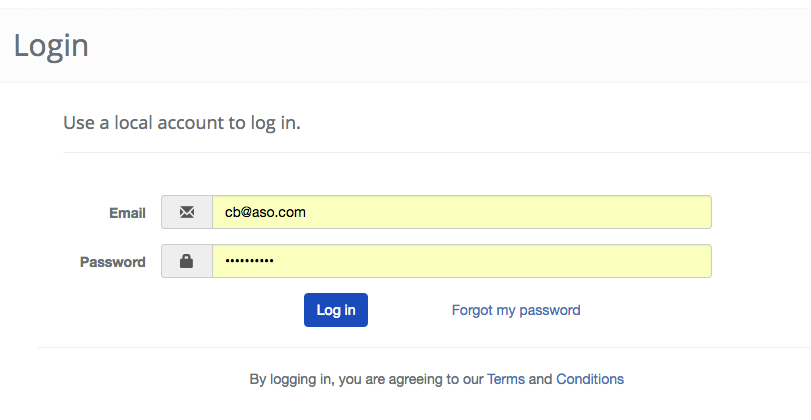
Logging In
If this is your first time logging into BluSKY, check your inbox for an email from BluSKY. This email will provide information on how to verify the account and create a password.
Once you have completed this step return to the BluSKY login page, https://blusky.blub0x.com and enter your login credentials.
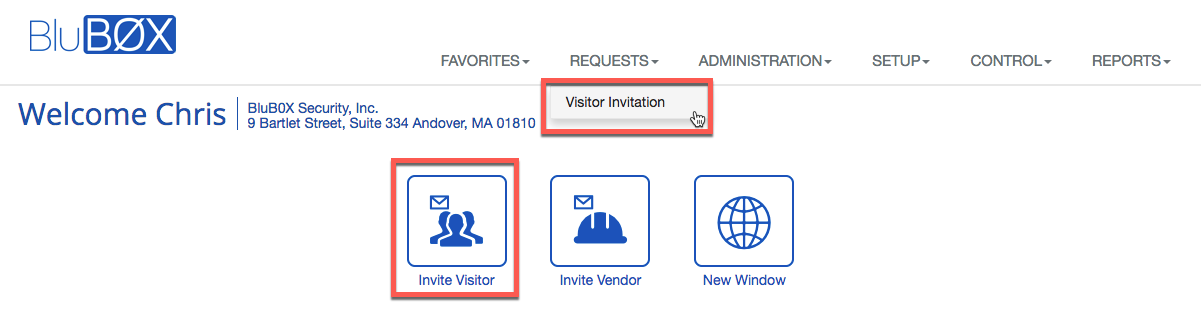
Getting to Visitor Invitations
If you have permission to create Visitor Invitations, you will be able to select this option right from the Home Screen. You may also access this screen via the Requests drop down menu.
Making the Invitation
The Visitor Invitation consists a few important parts. We have labeled the required fields below but as a general rule the more information you can provide while making the request the smoother the check in process is. For the complete documentation regarding creating a Visitor, please consult our official documentation found here, or through contextual help found on the top-right portion of each page.
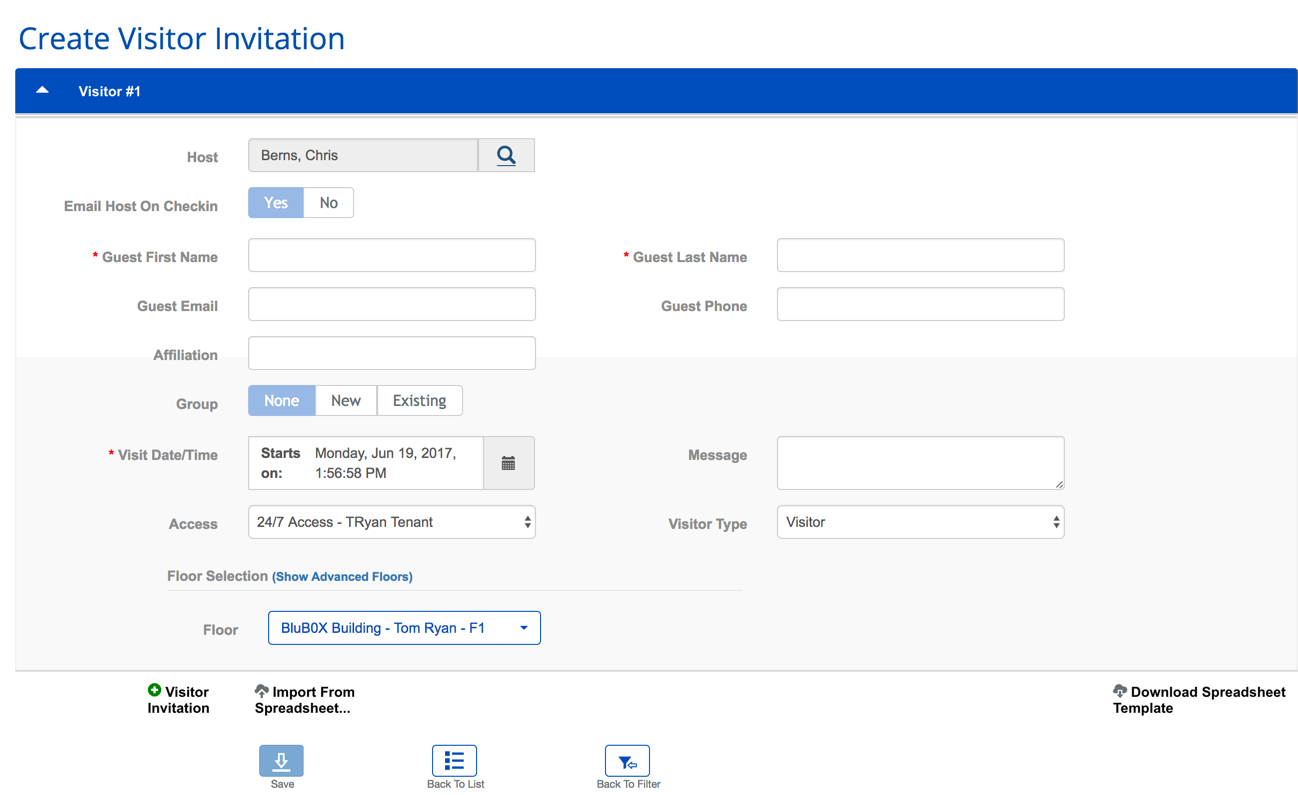
This article deals with the quick creation of a Visitor Invitation. The next article, provides an explanation for every field of the Invitation.
- First and Last Names (Mandatory) **-**Enter the visitor’s names.
- Visit Date/Time. (is pre-populated with the current date and time). You can change this if necessary: Click the
 calendar icon. Also, check out the guide for creating recurring Visitor Invitations here.
- ***Time Zones:***The time zone of the request is always based on the location of the Facility being visited. So, if you are on the east coast, and you are creating an invitation to a west coast property, you need to express the expected time of arrival in Pacific Time (i.e. 3 hours earlier than your local time).
- The following fields appear only if your Facility's system supports the corresponding function:
- Access (it is pre-populated with the default Access Level for your visitors). Specifies the Access Level that shall be granted to your visitor. You can change this if more than one is available. See the detailed instructions below.
- Note: An Access Level is a list of doors or turnstiles that shall be accessible with the credential that is issued to your visitor.
- Floor Access (also pre-populated with the floor(s) to which your visitors normally come). Specifies the Floor(s) that can be accessed by your visitor. You can change this if necessary. See the detailed instructions below.
- Click
 at the bottom of the screen to save your new invitation.
More than one visitor? You can save work by clicking ![]() Visitor Invitation and adding the next visitor before you click Save. Proceed as follows:
Visitor Invitation and adding the next visitor before you click Save. Proceed as follows:
- Click
 Visitor Invitation to**open a new Invitation Form. Its fields shall be pre-populated to match the previous Invitation: simply enter your second visitor's First and Last Name. Make any other desired field edits. Then click to save both invitations at once, OR
 - ClickVisitor Invitation again to add a third Invitation. fill in that invitation form, AND
- Repeat until you have created an invitation form for all your visitors, then clickto save all the invitations at once.
Note: Security Officers can complete Visitor Invitation Forms from the Visitor Administration window, usually when an arriving visitor has not been pre-registered). If the expected Date/Time of the visit is within one hour, the Visitor Edit screen will be automatically displayed after the Invitation Form is completd so the visitor can be checked-in on the spot. Otherwise, the system returns to the Visitor Administration page.