Visitor Management for Events - Quick Start
Overview
This article relies on at least a basic understanding of how BluSKY does Visitor Management. If you are unfamiliar with this topic you may want to begin by reviewing, Visitor Request Training and Visitor Admission Training.
Making the Visitor Invitations
To get started we will need to fill in the information for each guest. Download the spread sheet here or from the Visitor Group Import page. Enter the pertinent information about the individuals that will be visiting, like below. You will notice that this information only pertains to the individual and does not have any fields pertaining to the time and date of the visit. This is where the normal visitor import and the Group Import diverge from one another. Since, we know everyone is going to the same event we store this information in the BluSKY interface, which we get to in a minute.

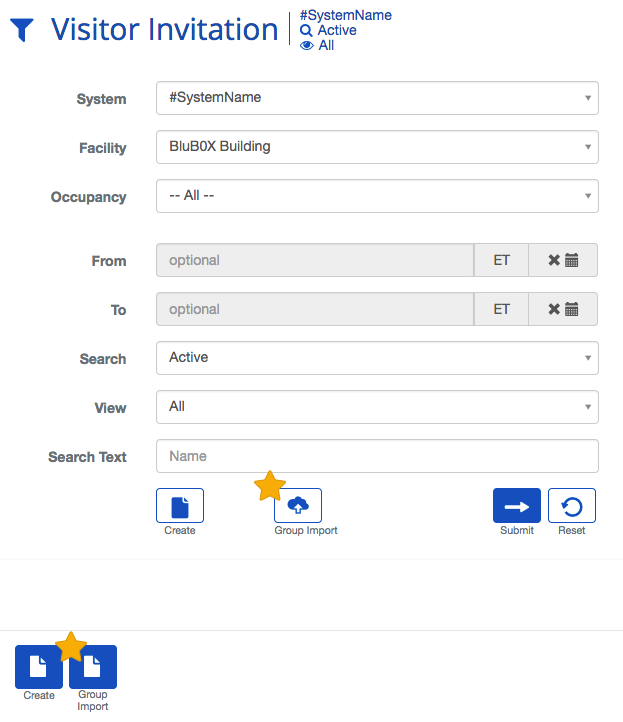
Importing the Visitors to BluSKY
The new Group Import tool can be found in the filter section of the Visitor Invitation screen and at the bottom of the screen with the create, edit and delete buttons.
Now that you have the Excel spreadsheet configured, you will have to enter the shared fields that are shared between all of the upcoming visitors: System, Facility, Host, Group, Visit Date/Time, Expected Departure Time, Access, and Visitor Type. If you are unfamiliar with the fields common to the Visitor Invitation process, please check out Invite a Visitor first as it contains a deeper dive into the various Visitor Invitation fields.
You will also notice the Email Host On Check In, Include iCal Invite, and Override Email For BluPASS (if the Facility has BluPASS) toggles to indicate how Notifications should be handled. Typically, email Notifications will be disabled for large events; consult the Host on which behavior they would prefer.
 Once this information has been inputted, you will be able to upload the Excel spreadsheet by clicking the "Click Here To Select..." link to open a file upload dialog.
Once uploaded, the spreadsheet will be processed by BluSKY along with these field selection to generate Visitor Invitations programmatically. The process is much faster than the typical Visitor Upload because it assigns the same Access Level, Visit Date/Time, Host, and Visitor Type to all entries.. Just press the ![]() button and you will see the new expected Visitors in the Visitor Admissions page.
button and you will see the new expected Visitors in the Visitor Admissions page.
Pre-Printing a Passes
Now that the Visitors are in the system, we can view them by heading over to the Visitor Admission page. In the filter section you will be able to search for the group you created. This will query the system for all of the Visitors in that group. Once there you can select them all by clicking the counter in the top left of the table. When you have them all selected, just click the ![]() to open the batch printing dialog.
to open the batch printing dialog.

Here you can select how many badges your would like to print at a time and whether you want them to be checked in now or at the time of arrival. This can be a helpful feature when there are hundreds or thousands to badges to print at a time and you don't want to block access to the printer the entire time. This feature can also be really helpful with finicky printers.