Create an Integrator Technician Role
Overview
This article details how to create and assign a technician Role. In this example we will be using a System Group to scope a technician Role to a group of Systems.
While we are using a System Group to limit the scope of the technician Role in this example, it should be easy to see that this process can be applied to individual systems and Occupancies.
How to Create a Technician Role
Before we can assign the Role to a technician we will have to create it.
- Log in and navigate to Roles. Main Menu-> Administration-> Roles
- Click the
 icon, in the lower left hand side.
 - Assign the Role to a System that will be in the System Group.
- Note: This field is required for the creation of the Role and will have no effect on the final Role.
- Leave the Occupancy****field blank.
- Note: Assigning an Occupancy here will limit the Role to only that Occupancy.
- Give the Role a name in the Name text field.
- Add a description for the Role.
- Using the Permissions window on the screen check all of the abilities you want you technician to have.
- ***Note:***We strongly recommend that the technician is capable of performing all of the duties they will be assigned to them. It is better to have multiple Roles with only the abilities they know how to use properly. For example you may have two separate Roles for a tier 1 and tier 2 support agent.
- Create the Role by selecting the
 button.
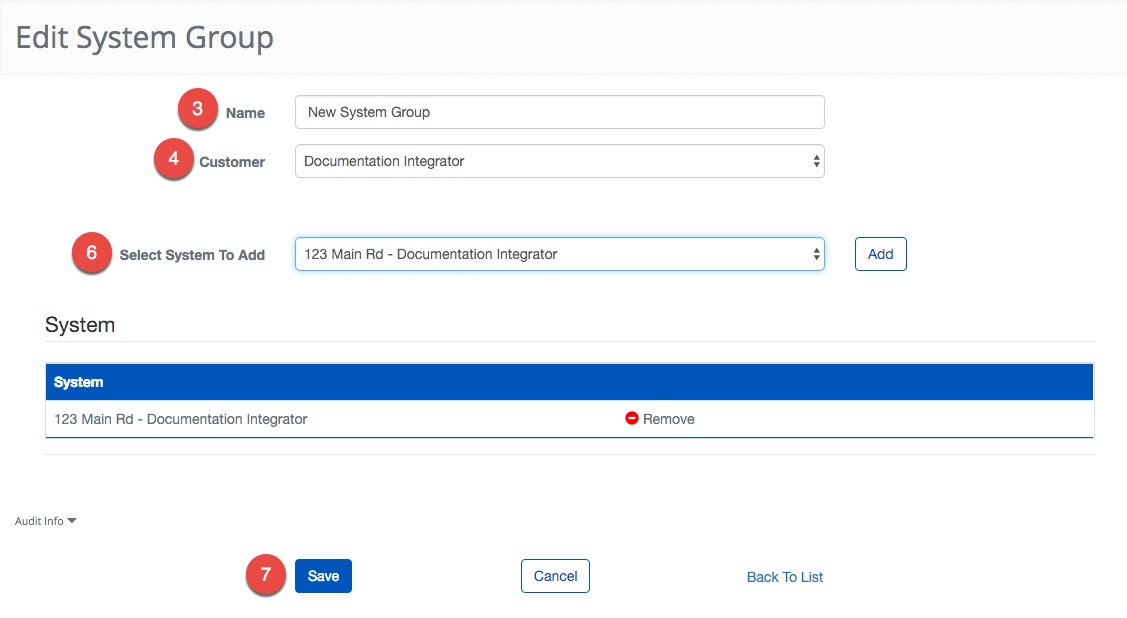
How to Create a System Group
Next, we will create a System Group for the Technician to control. We will create the System Group to partition the systems into manageable groups. BluBØX recommends assigning the fewest Systems as possible. This is a more secure configuration and can reduce mishaps.
- Log in and navigate to System Group. Main Menu-> Setup-> System Groups
- Click the icon, in the lower left hand side.
- Enter a name in the Name text field.
- Select a Customer from the the drop down menu.
- Note: BluBØX suggests that you pick the Integrator as the Company but in some cases you may want to assign this System Group to only a specific Customer.
- Click the
 button to create the System Group. The screen will refresh and you will be able to select the Systems. (not shown)
 - Select the Systems individually and add them by clicking the
 button.
- ***Note:***The choices for System are limited by the Customer selection.
- Save the System Group by clicking the button.
How to Assign the Role to the Technician
Lastly, we will assign the newly created Role to the technician, then we will use the System Group Role Scope to limit the permissions to only the selected Systems.
- Log in and navigate to People. Main Menu-> Administration-> People
- Use the search criteria feature to find the technician, then select the entry.
- Use the
 icon in the lower left hand side.
- Note: If the edit button is not available ensure that only one entry has been highlighted.
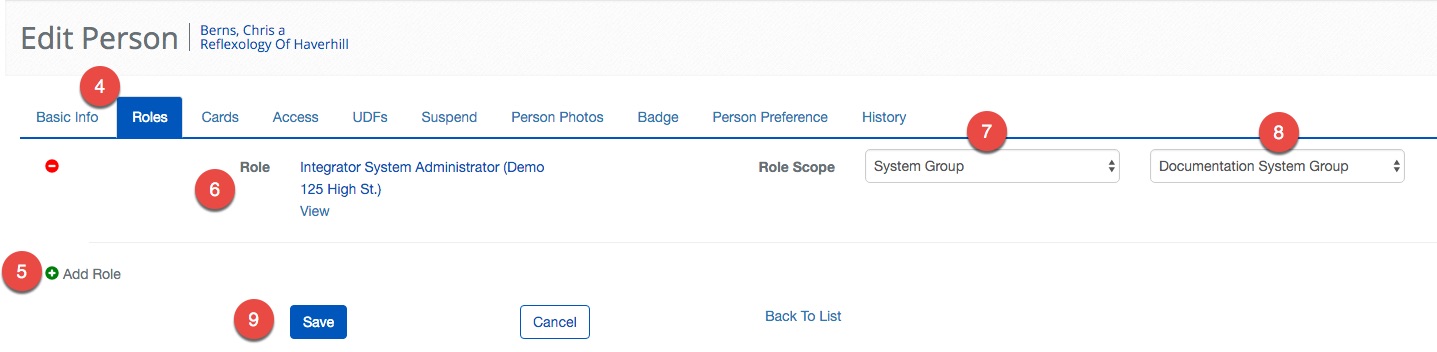
- Use the tab at the top to select Roles.
- Click
 Add Roles button.
 - Select the newly created Role from the Role drop down menu.
- Select "System Group" as the Role Scope type in the first drop down menu.
- Select the newly created System Group from the second drop down menu.
- Confirm the changes and click the button.