Create a Camera
Overview
In this article, we detail How to Create a Camera in BluSKY.
Instructions
- Log in and navigate to Cameras. Main Menu-> Setup-> Cameras
- Click the
 buttonin the Search filter or use the one below.
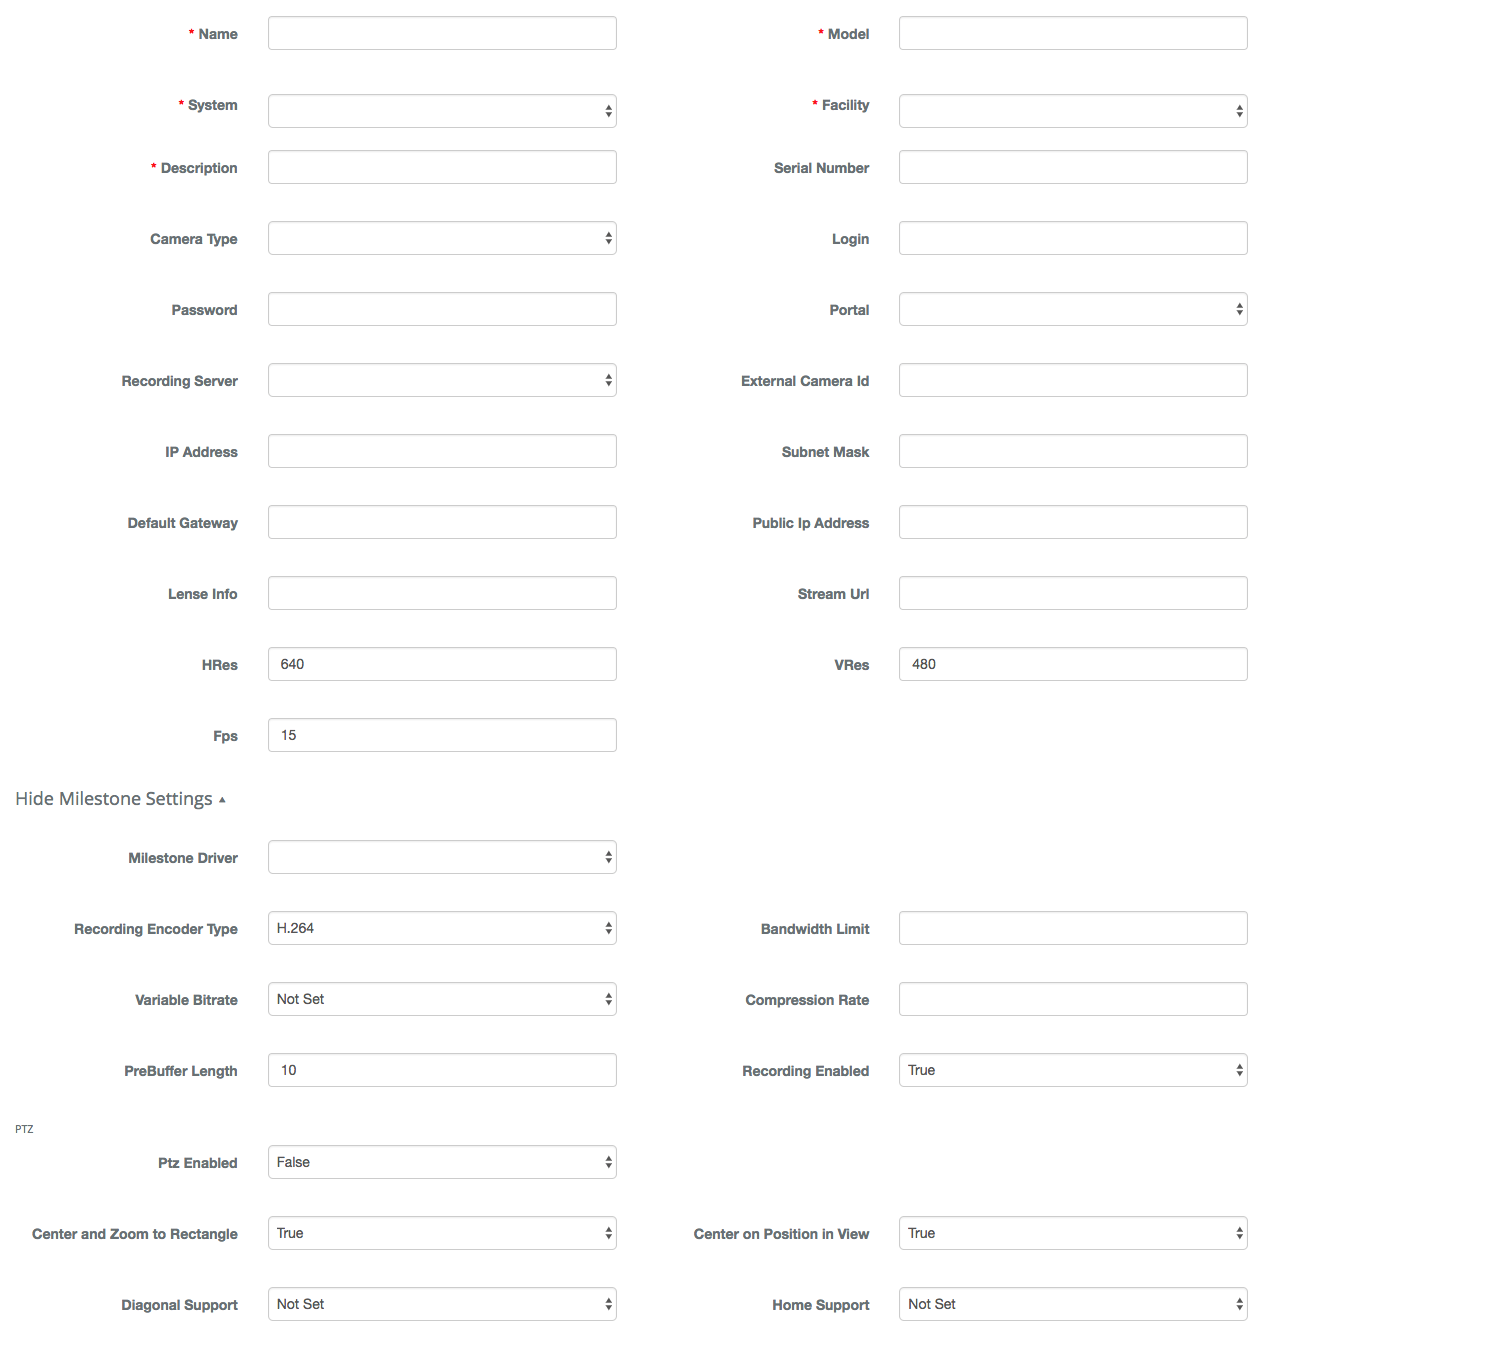
 - Name the camera. The BluSKY camera name should match the NVR camera name.
- Specify which Model camera is being used. Enter * if camera model is not known.
- Select the System and Facility.
- Add a Description. This is usually what the camera is looking at or a description of the scene. Enter * if description is not known.
- Add the Serial Number. This can be left blank if it is not known.
- Add the camera Login and Password. This can be left blank if it is not known.
- Add the Portal associated with the camera if applicable. This can be left blank if it is not known or not applicable.
- Add the Recording Server. This must be defined in BluSKY first in order to show up in the pull-down list.
- Leave the External Camera ID blank. This will be added after the camera is saved.
- Enter the camera's network settings: IP Address, Subnet Mask, Default Gateway, Public IP Address and Stream URL. This can be left blank if it is not known.
- Enter the Lens Info, camera resolution HRes and VRes and recording rate FPS.
- Enter any additional information available. See list below for more detail on each field.
- Confirm changes with the
 button.
 - Once the camera is saved, select it again to edit. Copy the GUID in the URL into the External Camera ID field and confirm changes with the button.
- Example: The GUID portion of the URL is shown in grey, https://blusky.blub0x.com/en-US/Camera/Edit/616fcd48-c326-4d79-a88f-7e0546f5cf95
Field Definitions
| Name | Description |
|---|---|
| Name | The name chosen to identify the Camera. Choose descriptive names that allow for easy administration and maintenence. |
| Model | The model number assigned to the Camera. |
| System | The System using the Camera. |
| Facility | The name of the Facility using the Camera. |
| Description | This field provides additional information that is related to the Camera. |
| Serial Number | A unique number assigned to the device by the manufacturer, that is used to identify the specific item. |
| Camera Type | This identifies the type of Camera being used. |
| Login | The account name used to access the Camera. |
| Password | The password used to access the Camera. |
| Portal | If used, this will identify the Portal that is being monitored by the Camera. This can be important when creating Video event capture via Rules. |
| Recording Server | The name of the recording server that is storing the Video feed. |
| External Camera Id | Additional information used to identify the Camera outside of BluSKY. |
| IP Address | An Internet Protocol address is a numerical label assigned to each device (e.g., computer, printer) participating in a computer network that uses the Internet Protocol for communication. |
| Subnet Mask | A subnet mask is used to break an IP network into logical subdivision. |
| Default Gateway | A default gateway in computer networking is the node that is assumed to know how to forward packets on to other networks. |
| Public IP Address | A public IP address is a globally routable IP address, meaning that the address is not an address reserved for use in private networks. |
| Lens Info | Information on the lens that is beign used by the Camera. |
| Stream URL | The URL where the stream from the Camera can be viewed. |
| HRes | Horizontal Resolution. |
| VRes | Vertical Resolution. |
| Fps | Frames per second. |
| Milestone Driver | |
| Recording Encoder Type | |
| Bandwidth Limit | |
| Variable Bitrate | |
| Compression Rate | |
| PreBuffer Length | |
| Recording Enabled | |
| Center and Zoom to Rectangle | |
| Center to Position in View | |
| Diagonal Support | |
| Ptz Enabled | This field indicated if the Camera has Pan/ Tilt/ Zoom capabilities. |
| Home Support |