BluSKY Connect
Instructions
Before going on site:
- Please download the Mercury firmware upgrade utility (MSC Test.zip) here.
- BluSKY Connect Utility can be downloaded BluSKYConnect.zip
Setup
- Prepare a Windows computer, by connecting to the network and setting its IP address to 192.168.0.250.
Bulk Erase
When converting a controller from one OEM vendor to another you will need to set the controller back to factory defaults before starting the conversion process.
This is a mechanical operation and can't be done remotely.
- Power down the controller.
- Place dip switches 1 and 2 to the ON position.
- Power up the controller.
- Within 10 seconds from the power-up move the dip switch 1 or 2 (of both) to OFF position.
Once this is done power down and back up the controller.
Bulk Erase Configuration Memory
Use the bulk erase function to erase all configuration and cardholder databases. When power is applied with S1 switches set to 1 & 2 ON and 3 & 4 OFF, there is a 10-second window that if switch 1 or 2 is changed to the OFF position memory is erased. The LEDs flash the following pattern when in the reset window: LED 1 & 2 and LED 3 & 4 flash alternately at .5 second rate. When erasing memory, LED 2 flashes at a 2 second rate; DO NOT CYCLE POWER. It takes less than 60 seconds to erase the memory. LEDs 1 and 4 flash for 10 seconds after the memory has been erased, then the EP1501 will re-boot.
This will leave your system in the default mode for the EOM code installed. so you will need to go through the next step "Configure Mercury Panel" to ensure it is set up correctly for the BluSKY Connect Application.
Configure Mercury Panel
- On the Mercury controller set dip switch 2 to ON and reset or power cycle the controller. This will put the board into its default communication mode and set the IP address to 192.168.0.251.
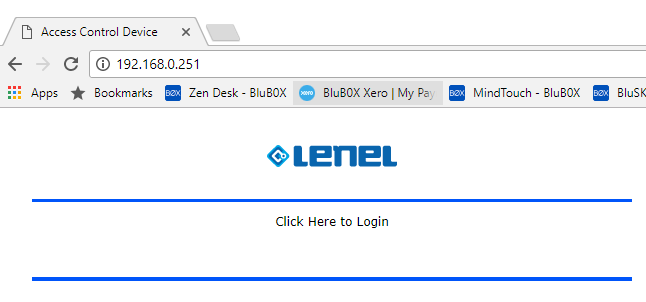
- In a browser (preferably IE or Edge), enter 192.168.0.251 in the address bar. This is the default connection method set in the step above.
- ***Note:***Depending on your browser configuration, you may have to push through browser warnings due to the lack of a HTTPS certificate. This is very common.
- ***Note:***Some users have reported issues using the Chrome browser. If you experience issues we recommend switching to another. IE and Edge seem to be the most reliable for this connection.
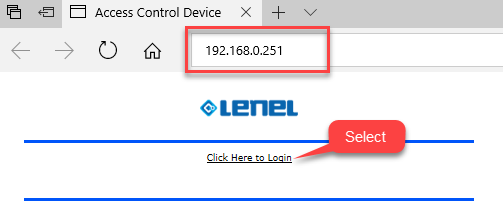

- Once you see the login screen, set dip switch 1 to ON. Waiting to throw this switch will ensure you have enough time to log in. Otherwise, you may miss the five-minute timeout on the default login and password (admin/password).
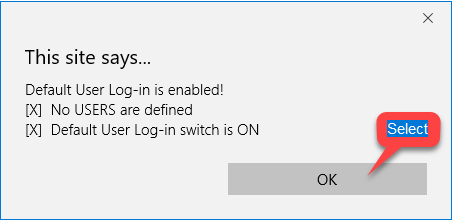
- Click on the Host Comm. menu. You might see a pop-up like the following, select OK
- .
- Ensure that all of the following parameters entered as they appear below:
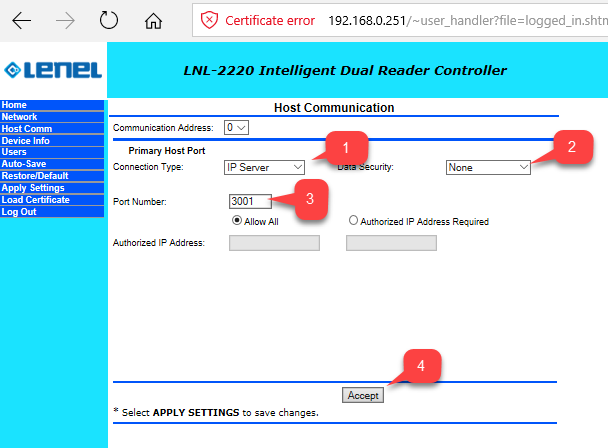
- Connection Type: IP Server
- Data Security: None
- Port Number: 3001
- Click the Accept button.
- On the board, set dip switch 1 to OFF, then click Apply Settings, Reboot.
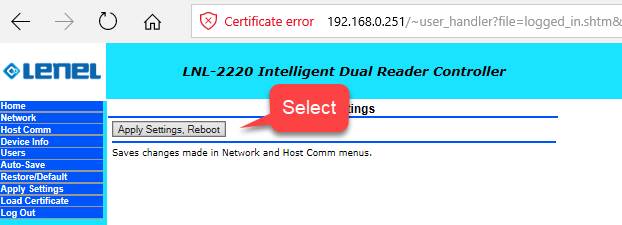
- Note: You will have to push past the pop-up notifications about one of the dip switches still being in the ON position.

Run BluSKY Connect Utility
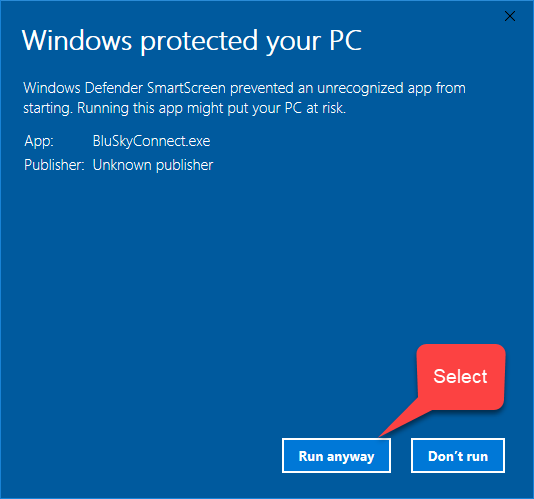
- Unzip the BluSKyConnect.zip file, if not already done.
- Run BluSKYConnect in the directory were the .zip was extracted.
 3. Select the correct model for the controller being upgraded.
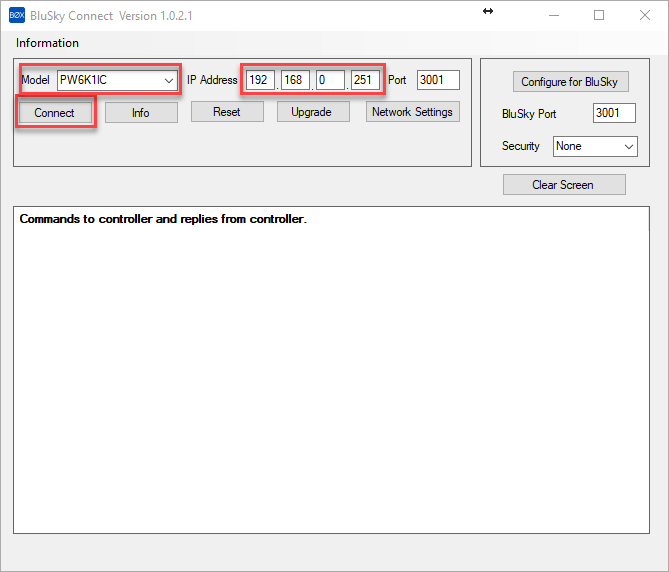
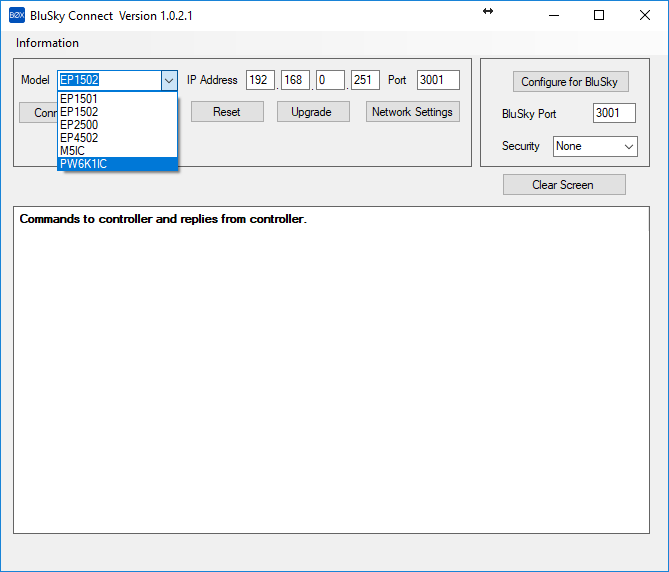 4. IP Address: Set to IP Address of controller, if DIP 2 is set the IP address is 192.168.0.251
5. Select Connect - See BluSKYConnect Connect png file.
4. IP Address: Set to IP Address of controller, if DIP 2 is set the IP address is 192.168.0.251
5. Select Connect - See BluSKYConnect Connect png file.
 6. ###### Install the BluB0X OEM Code BluSKY Connect OEM Code.png
7. ###### Bulk Erase the Controller
6. ###### Install the BluB0X OEM Code BluSKY Connect OEM Code.png
7. ###### Bulk Erase the Controller
- See Directions above.
-
Restart BluSKY Connect Utility
- Re-due Steps 3,4, and 5 again
-
Upgrade Firmware
- Select Upgrade, it will take ~10 minute and reboot. If the upgrade fails, try to upgrade a second time.
-
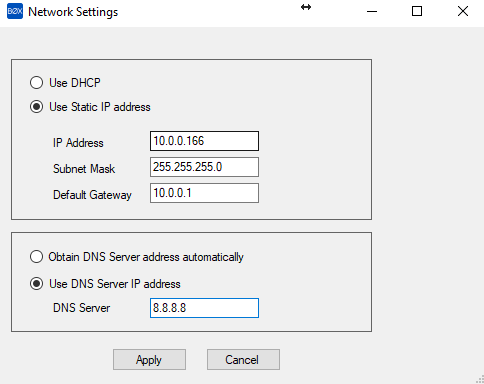
Change Network Settings
- Select Network Settings fill in network setting for your site.
 11. ###### Configure Ports and Security for BluSKY
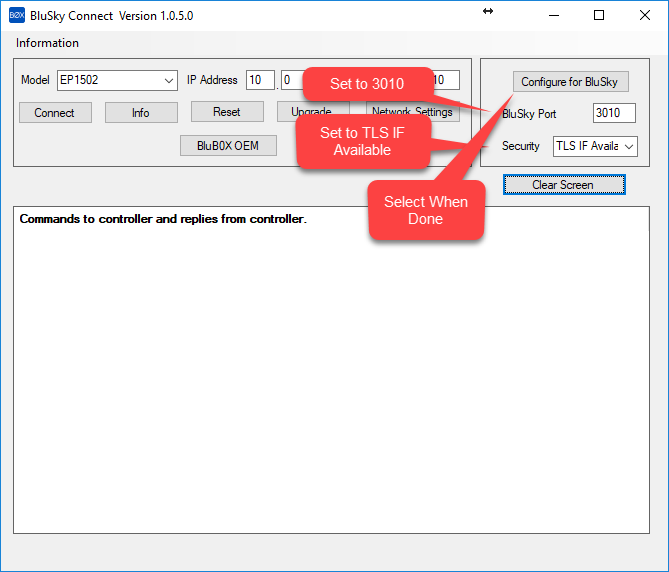
- Under "Configure for BluSKY" area of the screen set:
- BluSKY Port - set to 3010
- Security - TLS If Available
- Note: Treat "BluSKY Port" and "Security" as a set.
- Port 3010 needs Security set to "TLS IF Available".
- Port 3011 needs Security set to "TLS Required".
- Port 3012 needs security set to "TLS If Available".
- Port 3013 needs Security set to "TLS Required".
- Select "Configure for BluSKY" - This will set the configuration to start communicating with BluSKY.
 12. Set DIP 1 to "On"
13. ###### Create an Administrative User
12. Set DIP 1 to "On"
13. ###### Create an Administrative User
- Select "Users" on the left Menu.
- Select "New User"
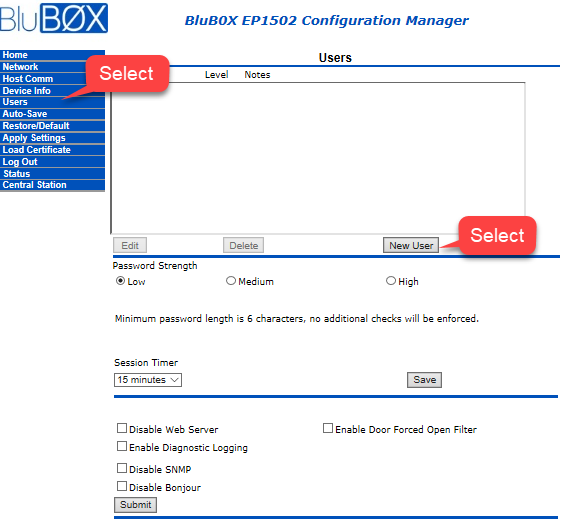
- Add the Administrative user you would like to use. We like BluB0X.
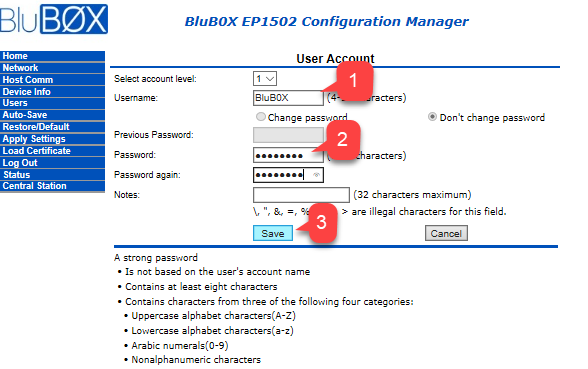
- Click on the Apply Settings menu option.
- Set DIP 2 to "Off" on the Controller.
- You should now see your system in BluSKY's Controller-Door-Floor Diagnostic Tool