How to Create an Interactive Map
Interactive Maps File Setup
- Map Size: Width 28 x 16 inches – (3500 x 2000 pixels)
- Resolution: 125 dpi is functional (72 DPI will work on less detailed maps but lacked clarity on larger maps)
- Size: 200k-300k
- Opacity: 35%
- Remove all graphic details except the walls and core structures to make maps easier to place and use points.
Click to view Interactive Maps Instructional Video:
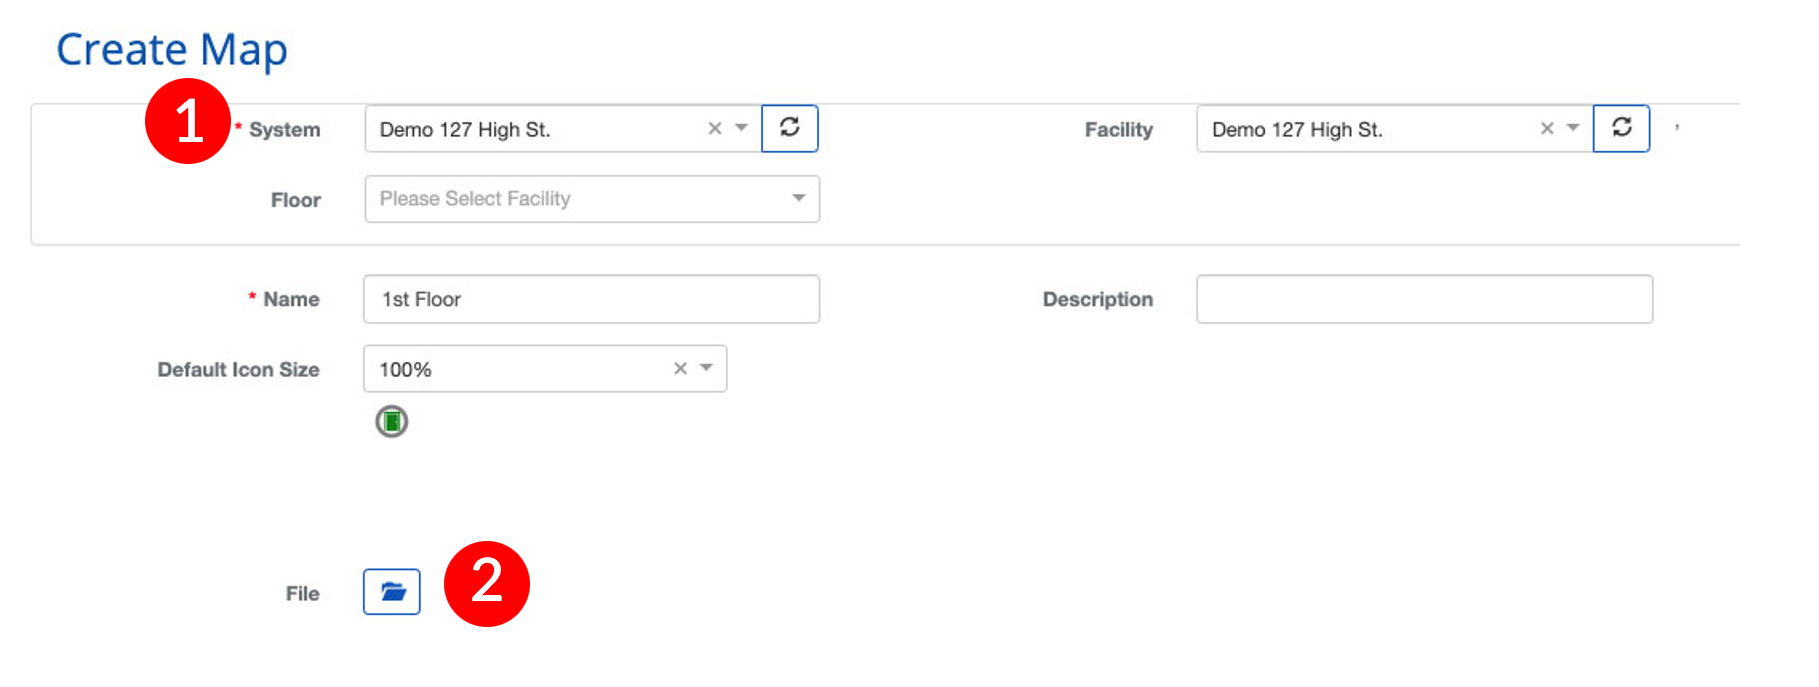
Importing Map to BluSKY
- Administration > Maps & Locations > Choose your System > Create > Create Map (see menu below.) Select System/Facility/Name (example Floor 1)
- Click File (on the Folder) – Upload Map
- Click Save and your map will upload
Repeat the process for each map. Once uploaded, the maps are ready for point placement.
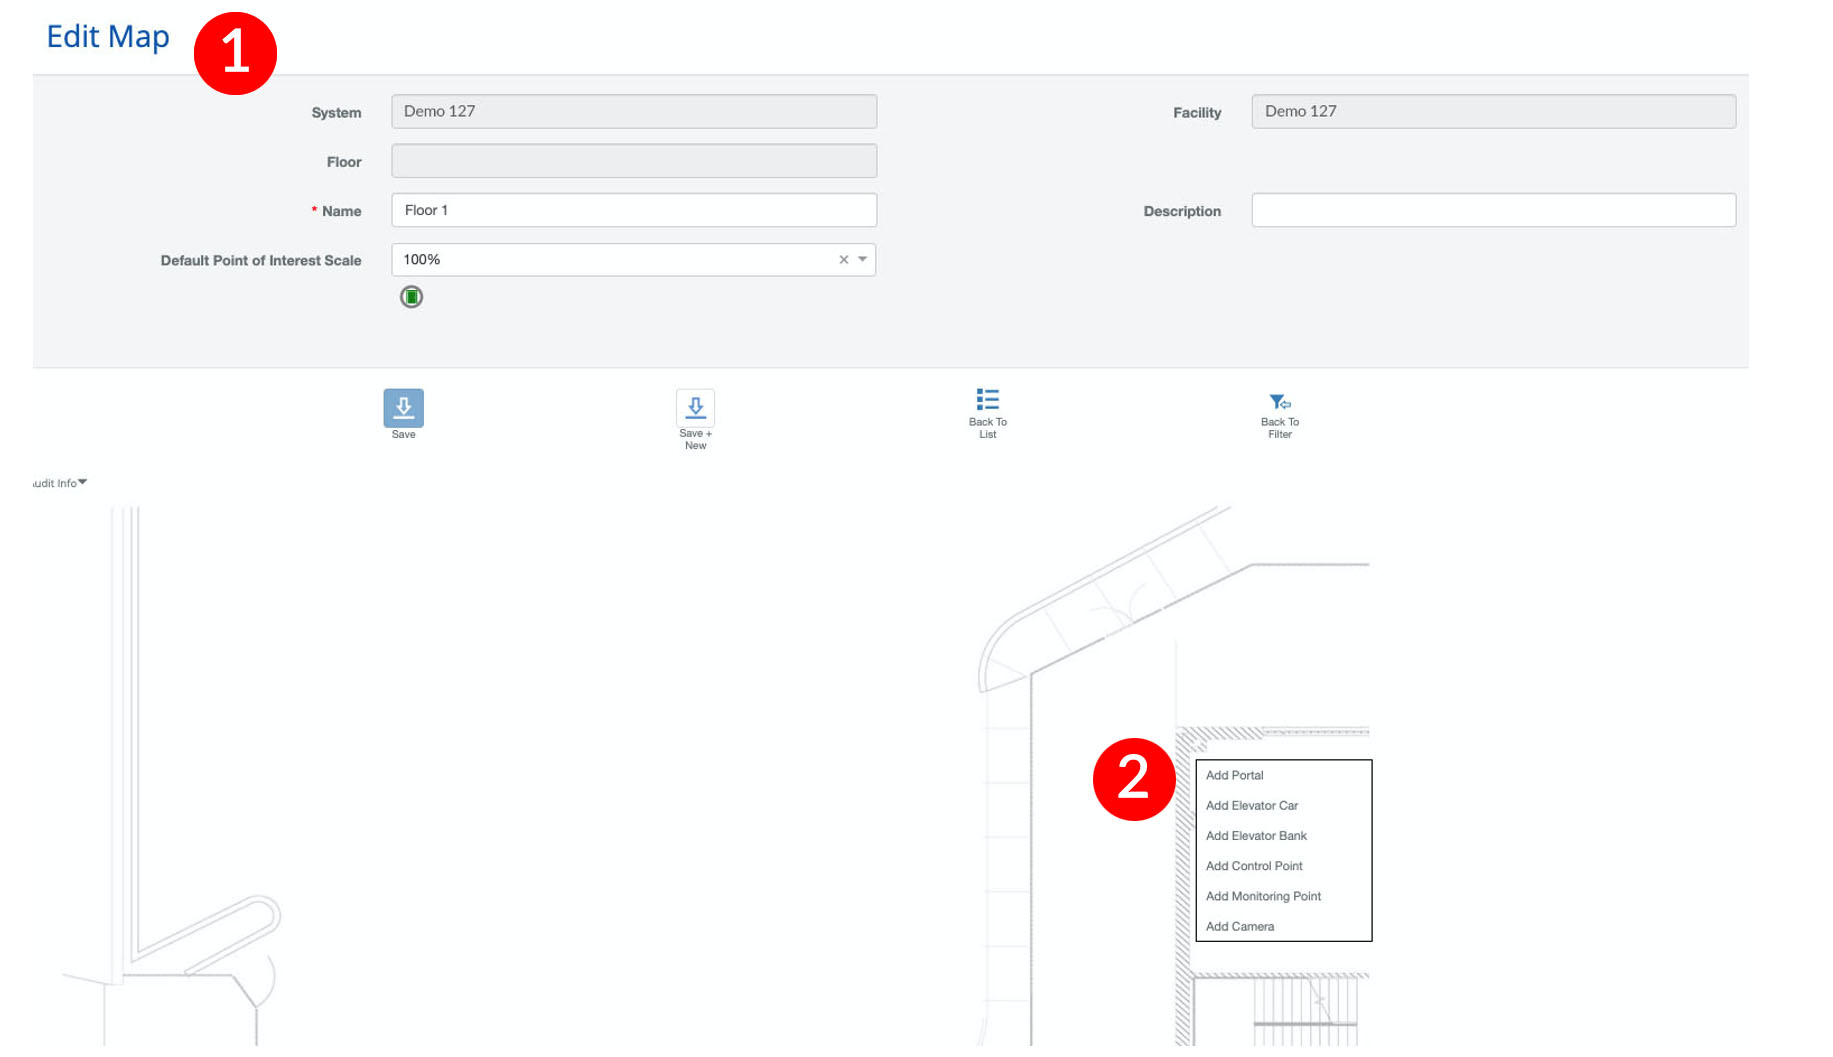
Edit Map/Add Points
- Administration > Maps & Locations > (Select Your System, use filter if needed) > Submit > (Choose the map you wish to place points) > Edit > Edit Map. The map will appear below the Edit Map menu ready for points to be placed. Move your cursor to the location you wish to place your point and right-click.
- A drop-down menu will appear with 6 options: Add Portal, Add Elevator Car, Add Elevator Bank, Add Control Point, Add Monitoring Point, Add Camera
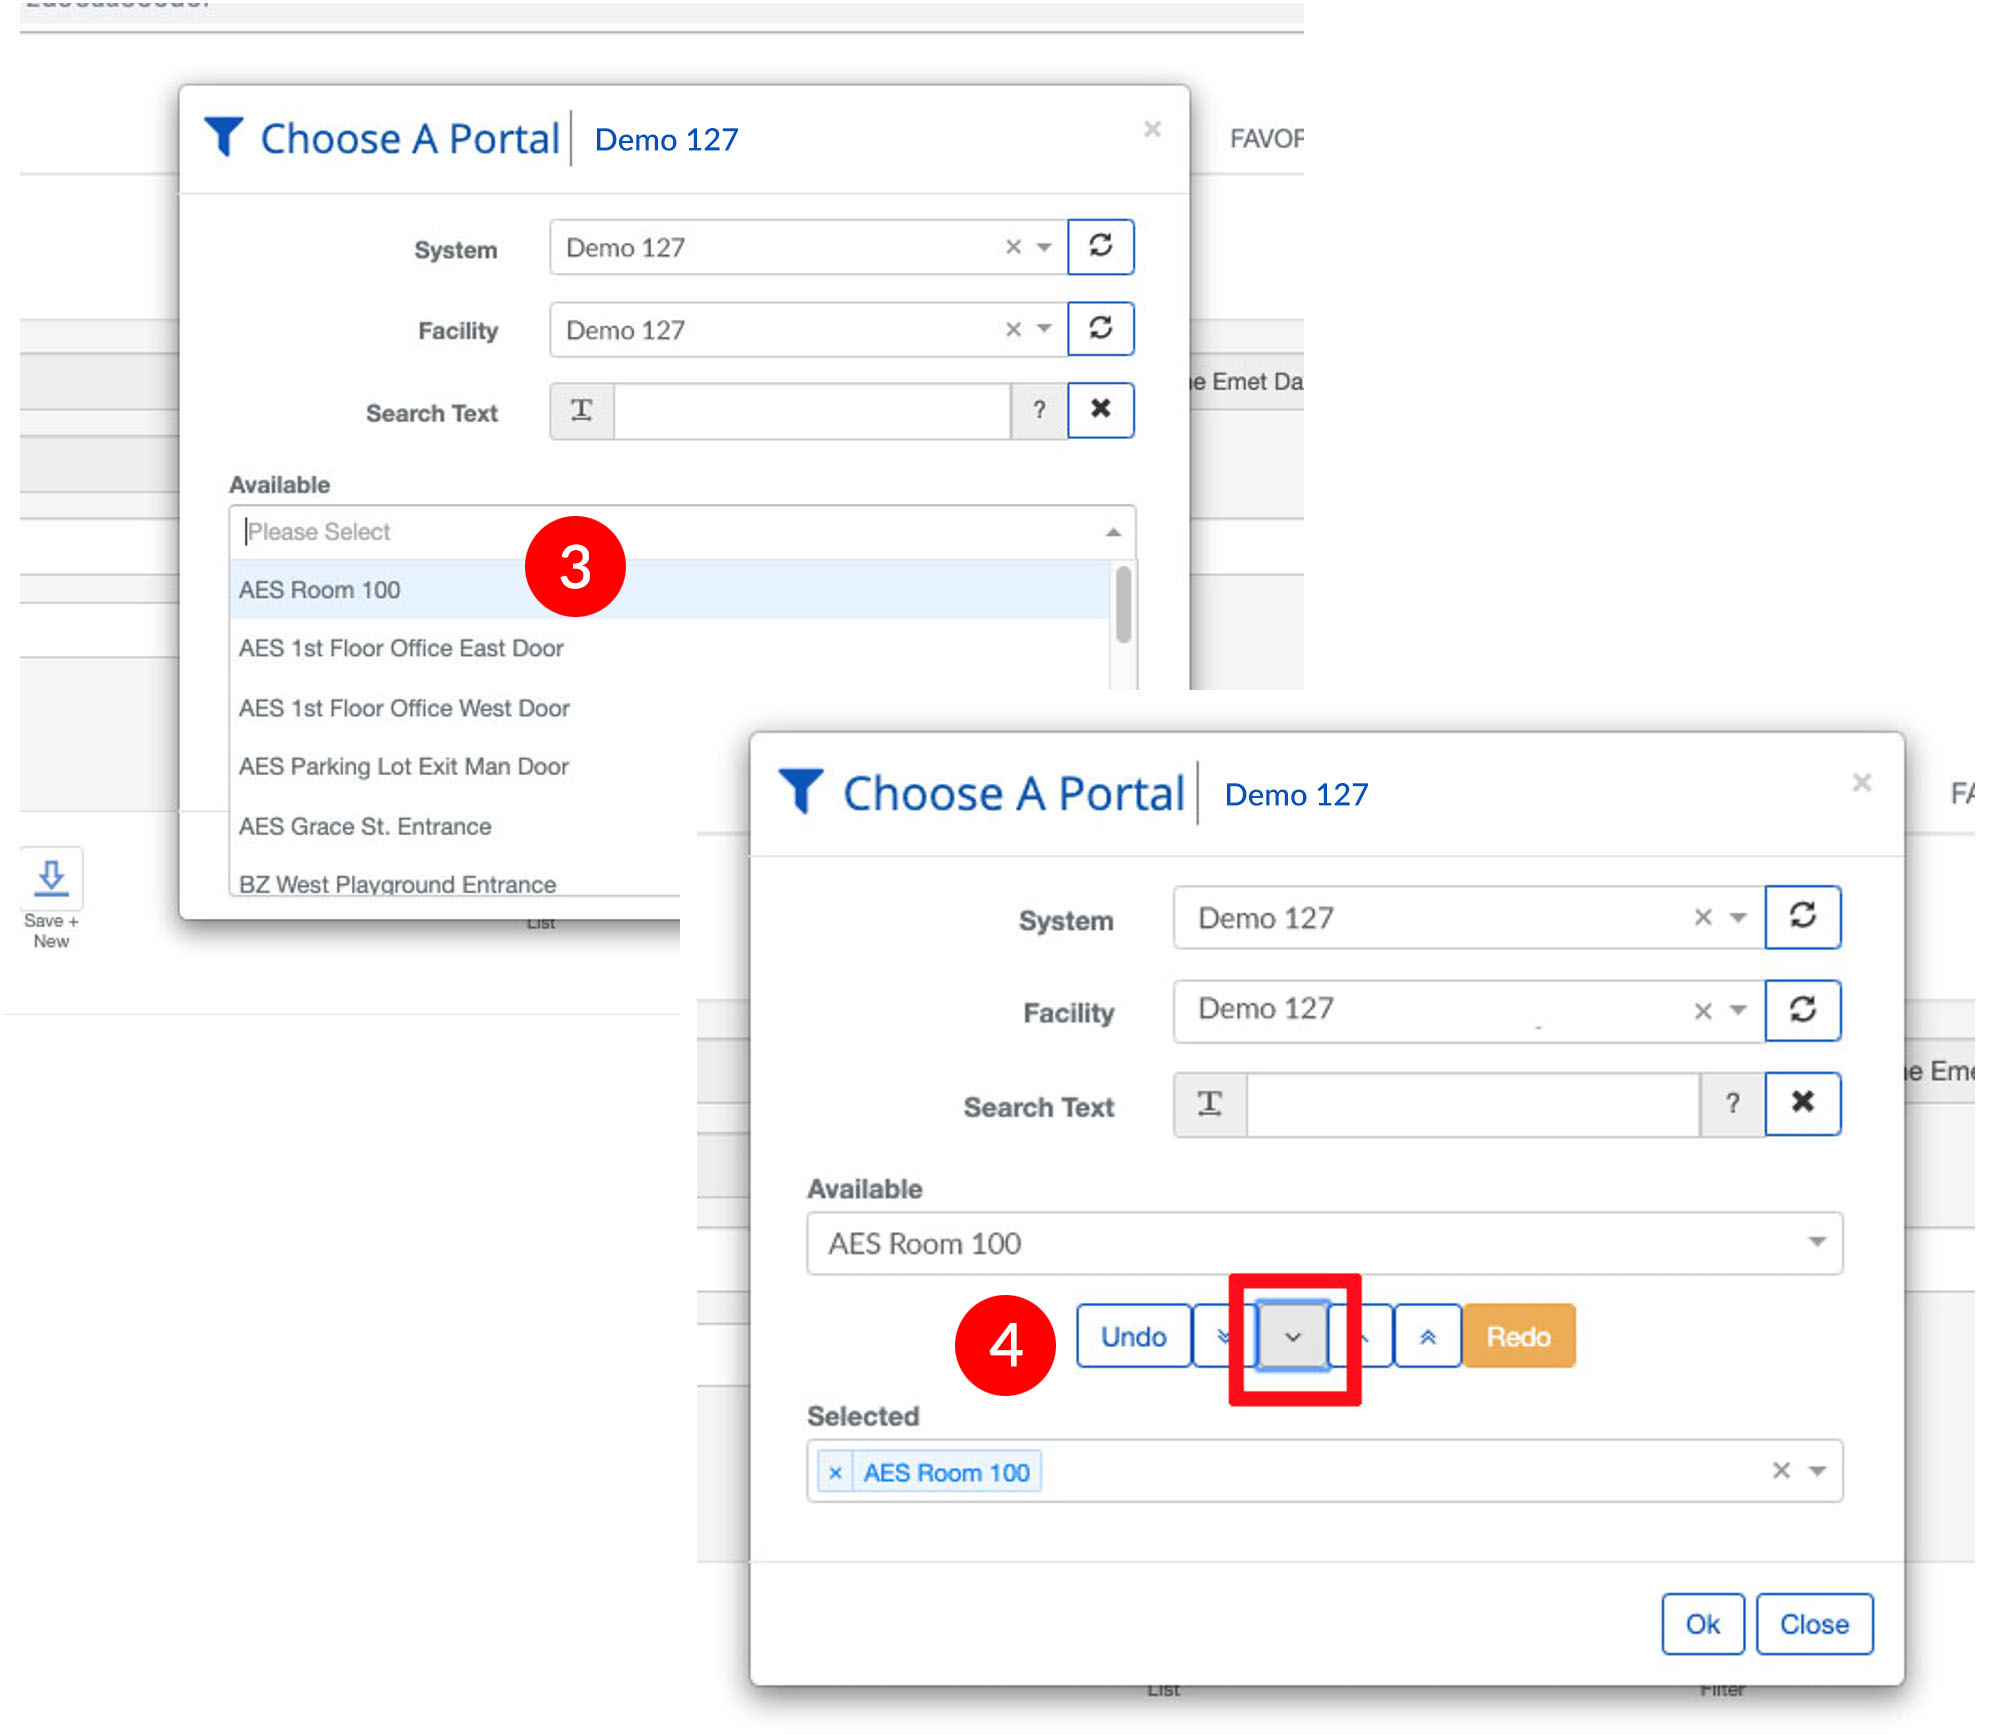
- Select the point you wish to place
- Hit down button– outlined in red - and hit OK
- The interactive point will now appear on the map. Repeat the process for each point and populate the interactive map.
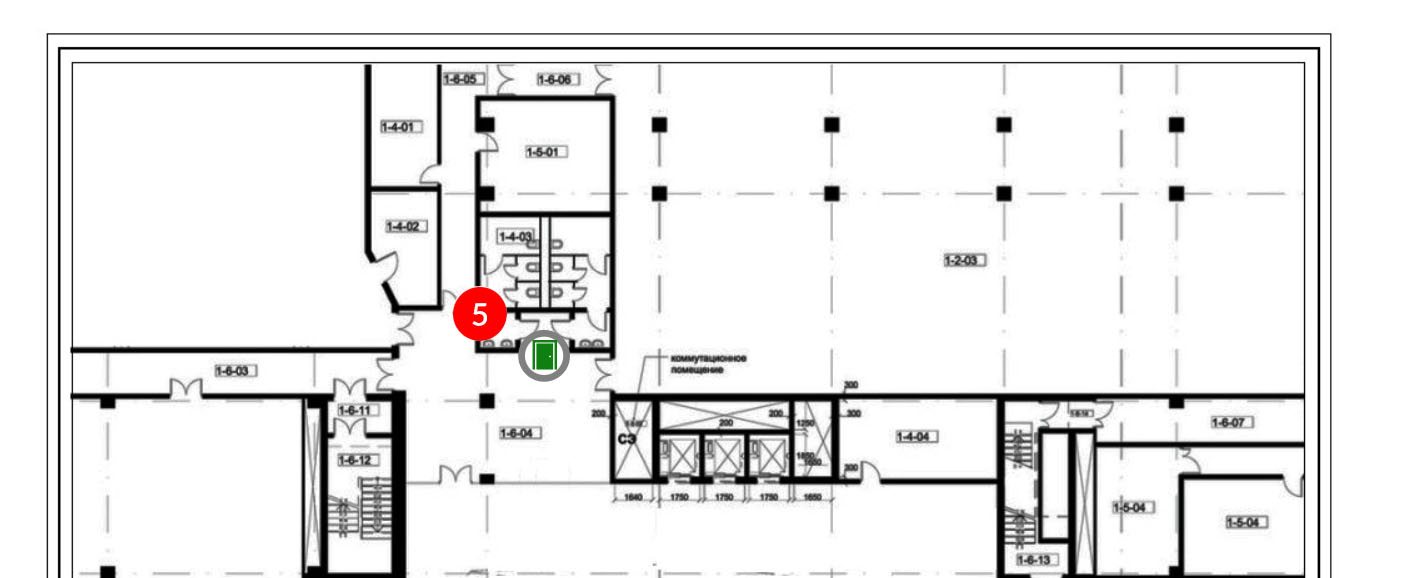
Click Location of Point
Choose Portal
Point placed
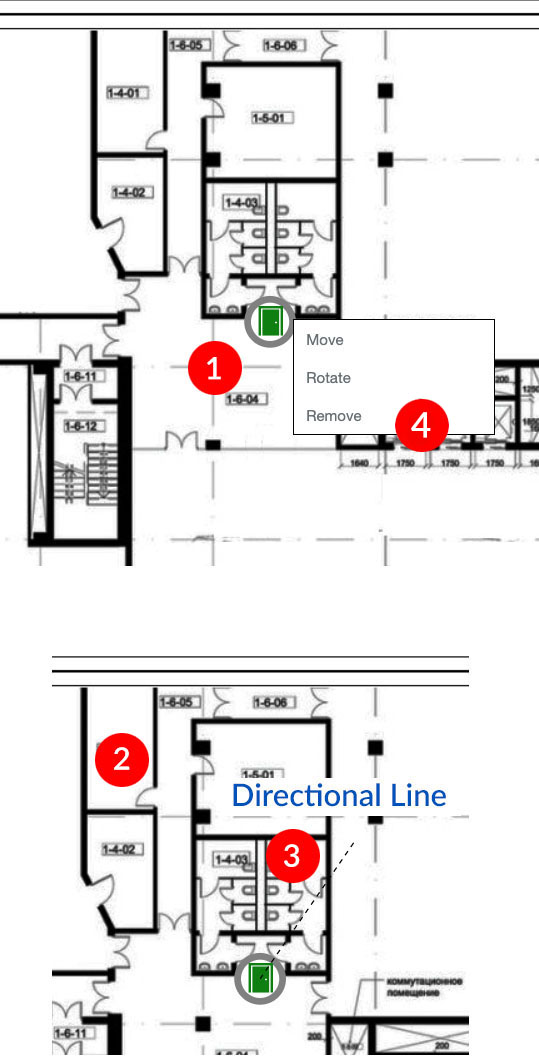
How to Move/Rotate Placed Point
- Right-click on placed point - options will appear (Move/Rotate/Remove)
- To Move, select Move and move cursor where you want the point to relocate and click - point will move to the new point (make sure you are in Full-Screen mode for proper placement by selecting the four-arrow directional icon from bottom nav)
- To Rotate, select Rotate and a directional line will appear. Rotate to the desired angle and click.
- To Remove, select Remove
